I recently wrote a three part article on using Autoyast to automate the installation of OpenSUSE machines. I this article I will show you how to setup a local software update repository as well.
Ultimately if you are looking at having your own update repository then you will already have your own installation repository (if you don’t you can always go through the steps in Part 1 of my Autoyast how-to).
First of all create a directory inside your local repository called “updates” and then create a sub-directory for each of the versions you need (for me I only have opensuse11.1).
For you to update your individual servers after creating the repo you will need to have the “yast2-online-update-frontend” package installed.
Use the following command to initially create and update your repo.
rsync -a -v -v --delete-after --progress --stats mirror.internode.on.net::opensuse/update/11.1/ /var/lib/autoinstall/repository/updates/opensuse11.1-current/This command will copy about 8gb’s of data, but as it is using rsync you can cancel it and restart it as often as you need. Be sure to select a mirror near you from the following list OpenSUSE Mirror List.
Next log on to one of your clients and perform the following:
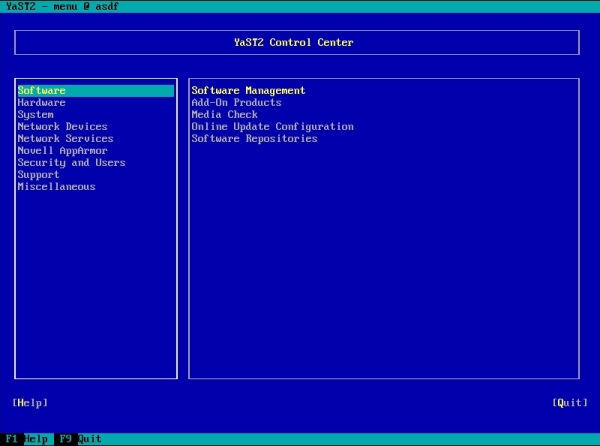
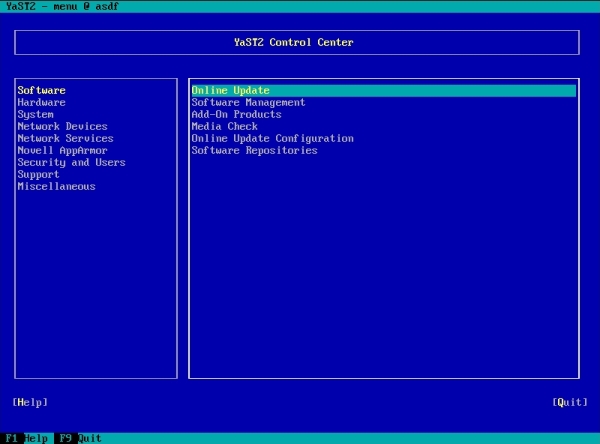
1. Go into YaST
2. Software -> Software Management
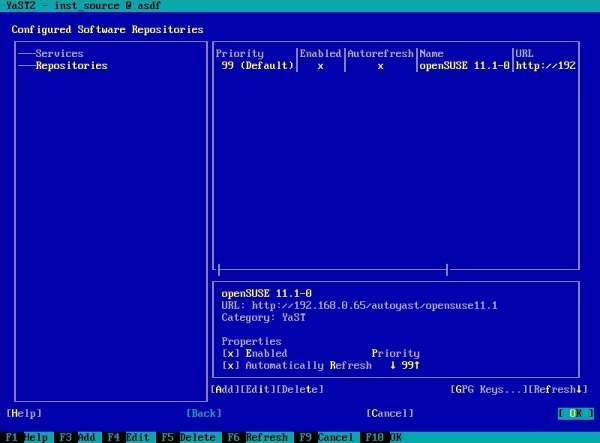
3. Click Add
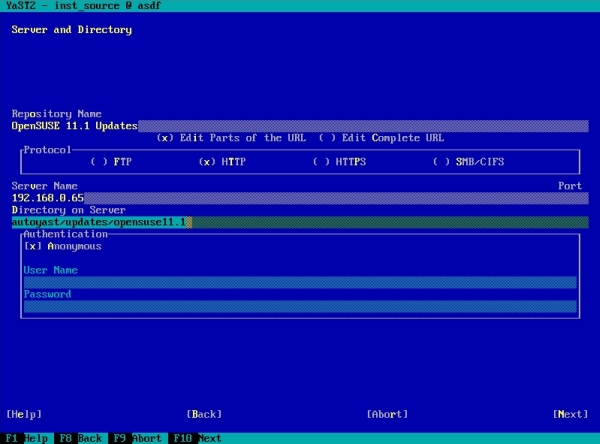
4. Select HTTP
5. Enter the relevant details
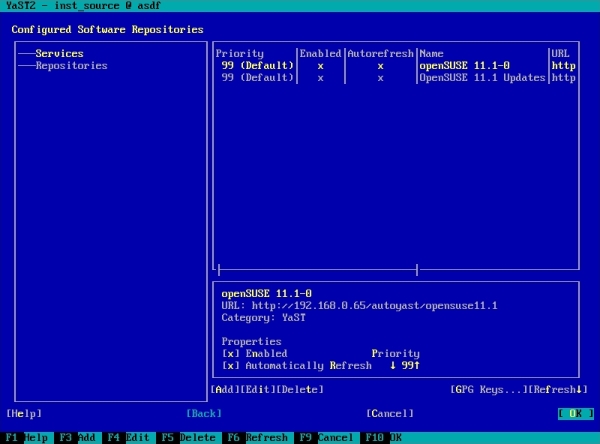
6. You should end with with a screen somewhat like the following
7. Goto Software -> Online Update
8. Select the required updates
And that’s it.