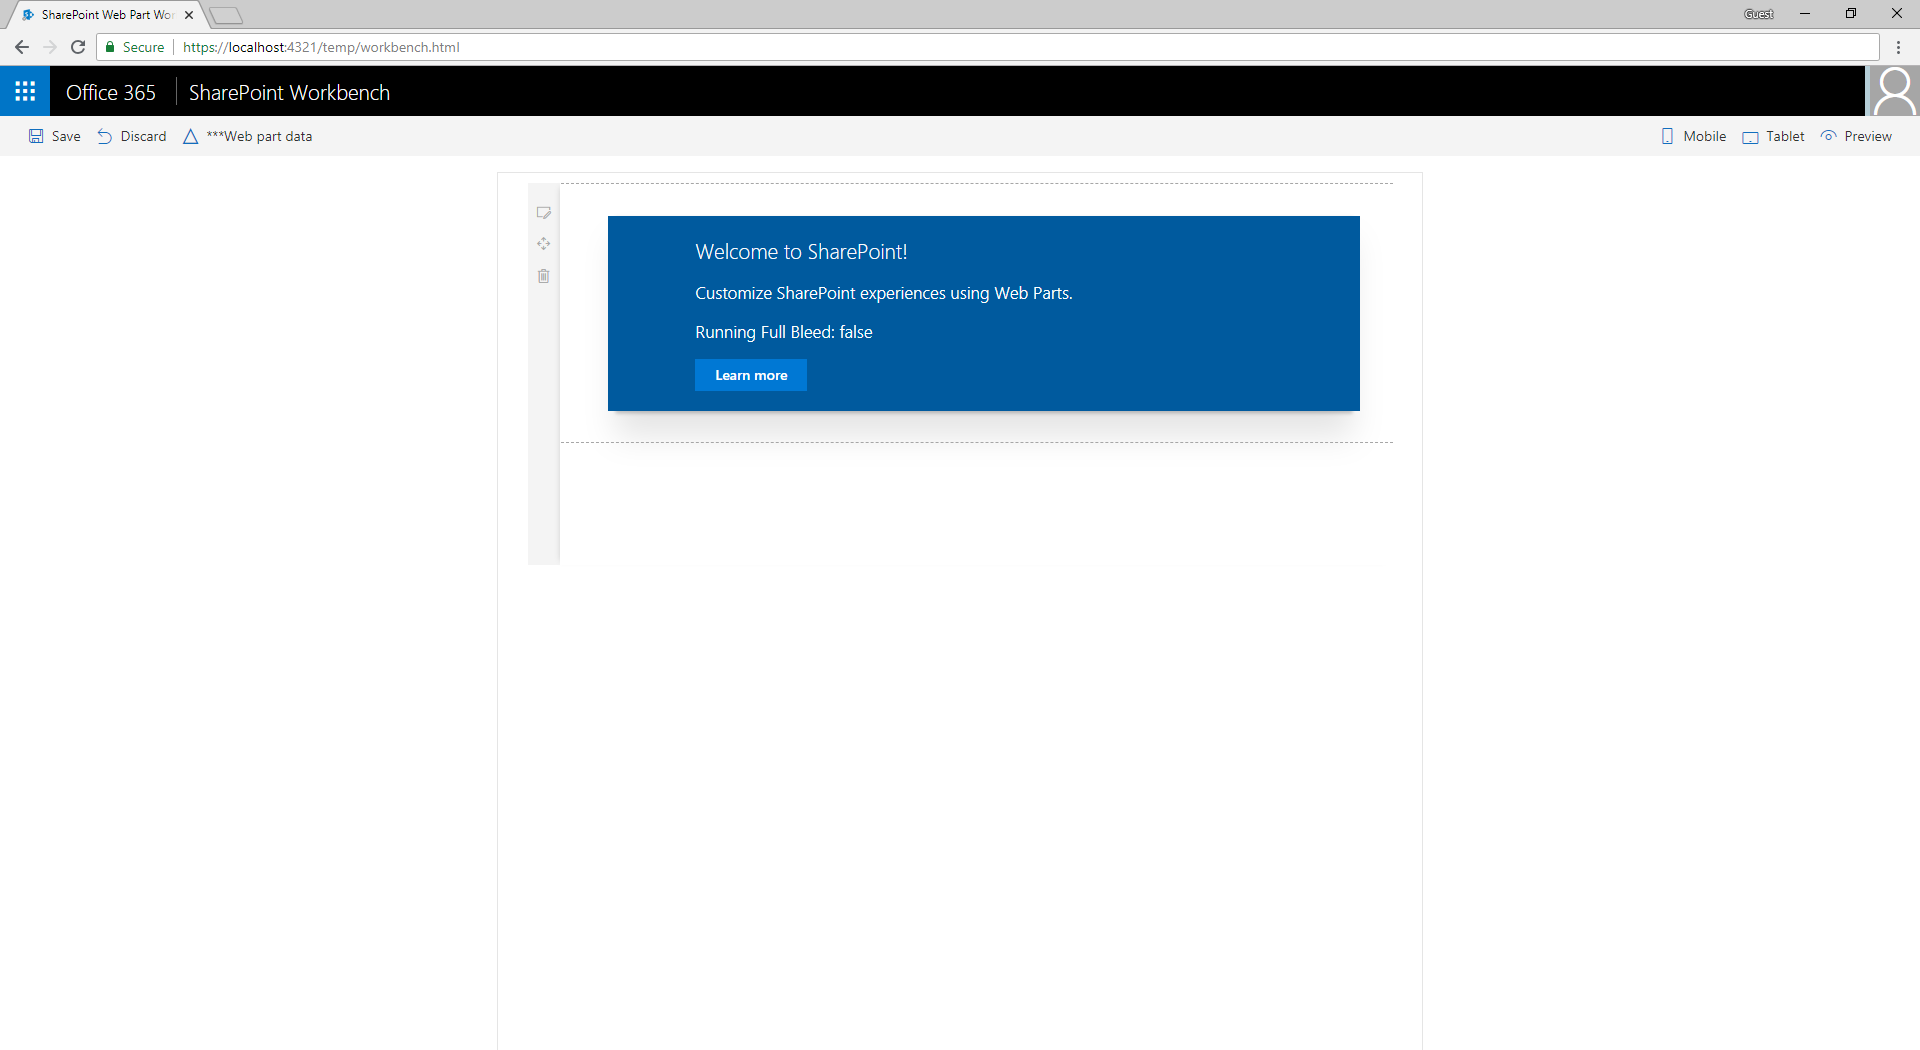
I recently needed to delve into SharePoint development and custom WebParts. One of the problems I had was whitespace, I had a modern SharePoint page with a single webpart that I wanted to use all available space. This is possible with a page capable of a Full-width column (Only available in Communication Sites, see here for instructions https://blog.velingeorgiev.com/how-add-spfx-webpart-full-width-column). But I needed more, I needed something to fit into an existing site on a Modern Page utilising an existing Classic Team Site template.
I figured I could use a simple style override to make this work for me. The following solution works well for my situation, but please note that it is completely unsupported by Microsoft and needs to be thoroughly testing in your own environment before considering its use. I have only tested this with a single WebPart on a page in a Single Column Layout.
Once you have a basic WebPart template created (Microsoft has plenty of documentation on how to do this), add jquery as a project dependency.
npm install jquery @types/jquery
Add an include in your .ts or .tsx file
import * as jQuery from "jquery";
Simply add the following lines in the WebPart initialisation section.
public onInit(): Promise<void> {
    return super.onInit().then(_ => {
        jQuery("#workbenchPageContent").prop("style", "max-width: none");
        jQuery(".SPCanvas-canvas").prop("style", "max-width: none");
        jQuery(".CanvasZone").prop("style", "max-width: none");
    });
}
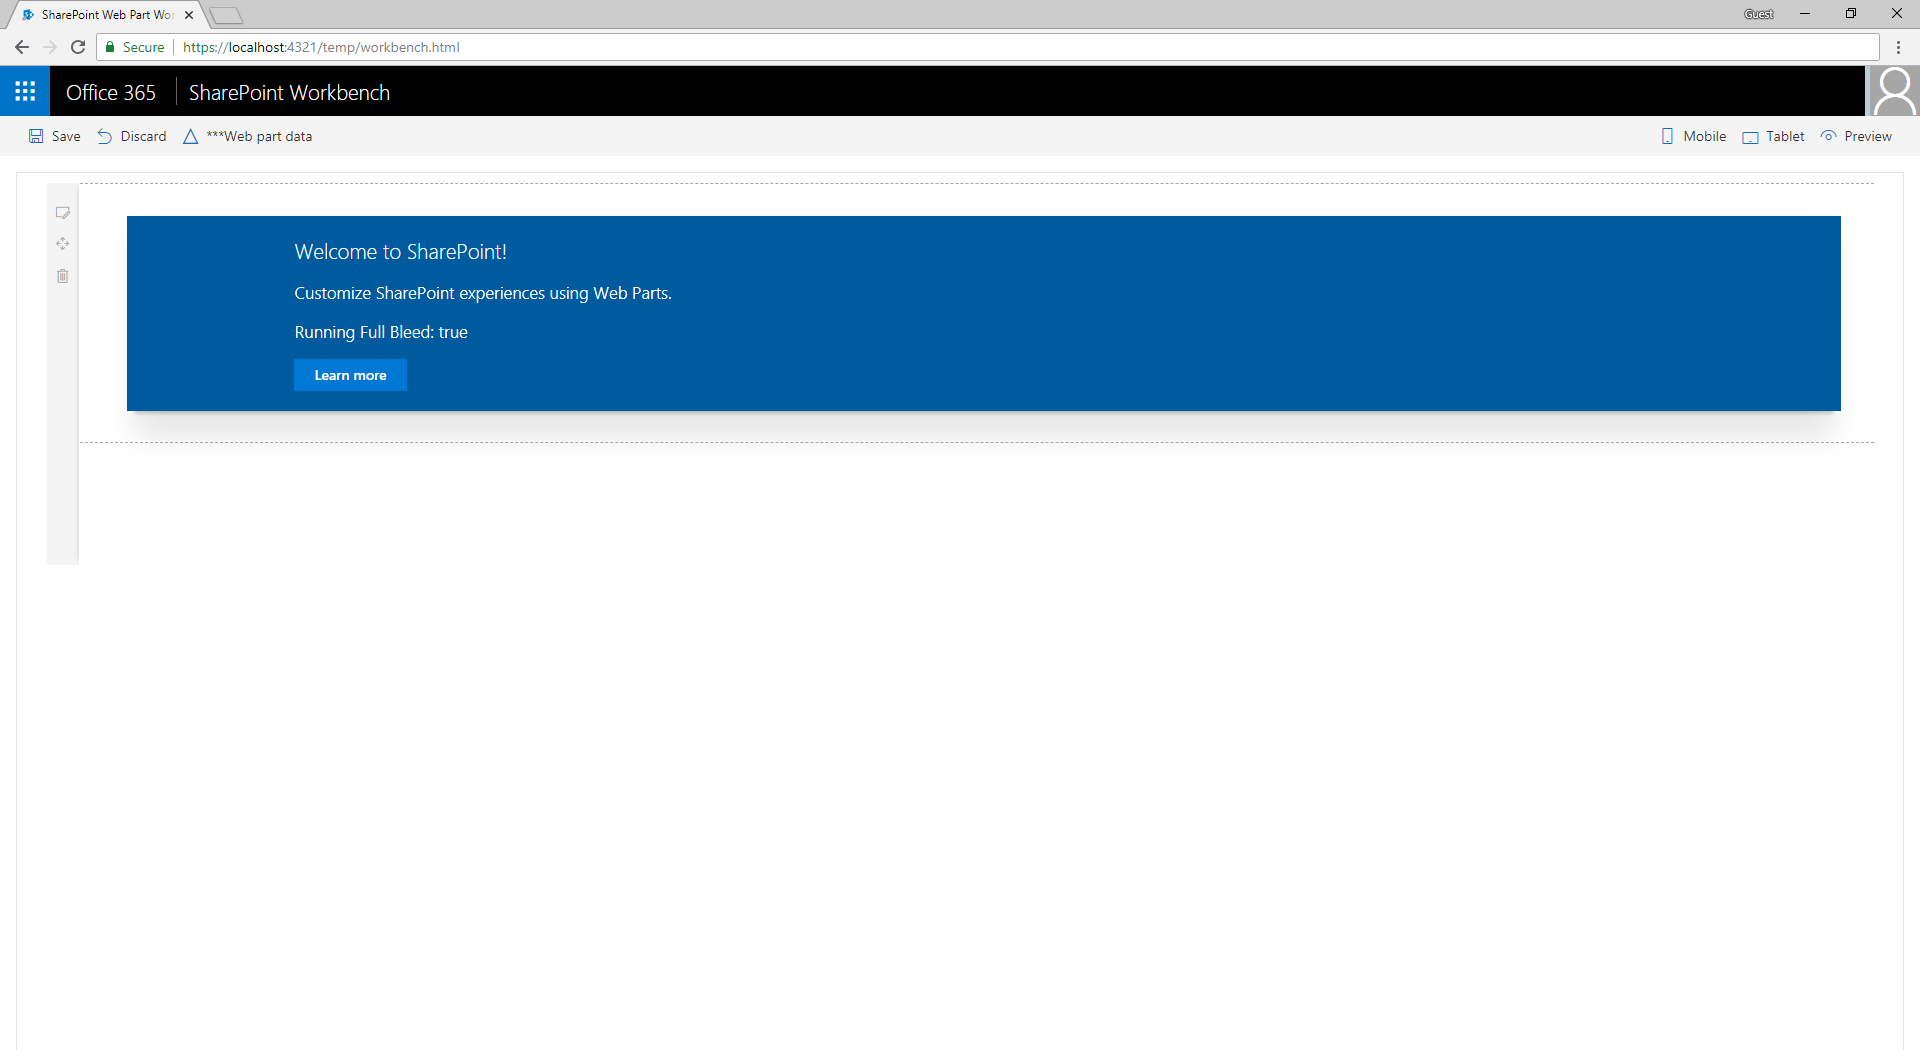
On page load, your WebPart will have all available space on the page to use. If your testing this in your own WebPart, not the initial CSS for the .container class has a max-width set that will limit your WebPart from using more space.
For a complete functional demo please see https://github.com/littlejon/FullBleedWebPartTutorial