OpenSUSE and SLES (SuSE Linux Enterprise Server) both come with AutoYaST which is a very powerful tool that allows administrators to quickly and easily deploy servers that have an identical configuration for rapid server deployment.
In this three part series we will explore creating a repository for use with multiple systems, creating and customizing the AutoInstall file, and finally running through an install procedure.
Part 3 – Putting it all together and installing a server
In this part we will look at running through a machine install making use of our newly created repository and AutoInstall file.
Check out Part 1 – Creating a repository for use with multiple systems
Part 2 – Creating and Customizing the AutoInstall file
What you will need:
- OpenSUSE Installation Media
- Server/Desktop/VM that has access to DHCP and the HTTP server holding the Repository
OpenSUSE Installation Media
You will need to boot the new machine with some form of installation media. This can be either the full installation DVD or my preference is the small network install CD (I prefer this as not all my servers have DVD drives, plus it is an 88mb ISO to upload to my VM Servers rather then a 5gb ISO). To get a copy of the Network Install disk goto http://software.opensuse.org/ and select Network for the installation medium.
Installation
For the screenshots in this Demo I am using a VM hosted on VMWare ESXi 4.0.
The machine should boot into the following screen.
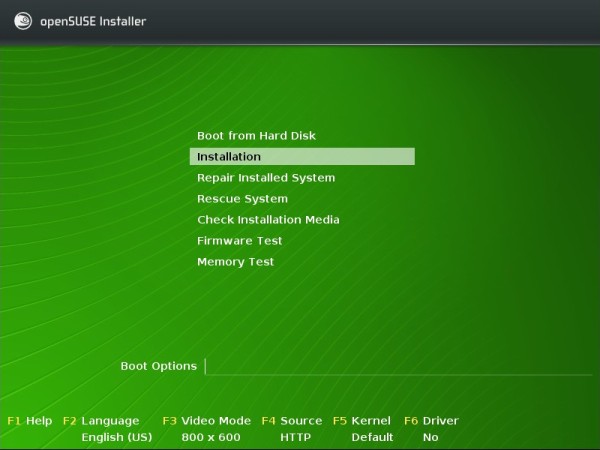
To start with press F4 to bring up the source menu.
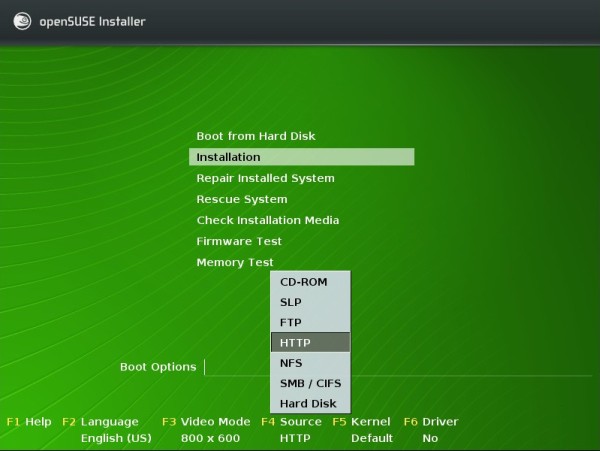
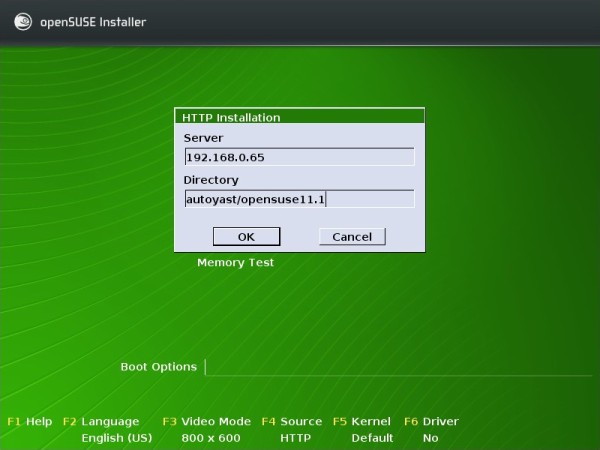
Select HTTP. You will then need to enter the details of your repository server (remember the directory in this context is the directory relative to the webroot)
The next part you need to fill in some extra details for the boot options.
autoyast=http://192.168.0.65/autoyast/autoinstall/demo.xml
This will be the AutoInstall file you have created.
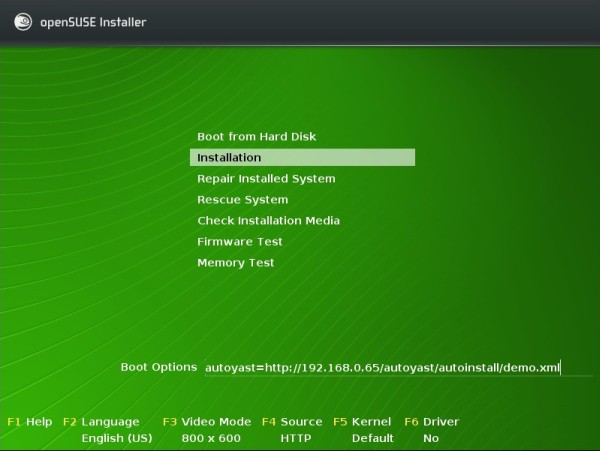
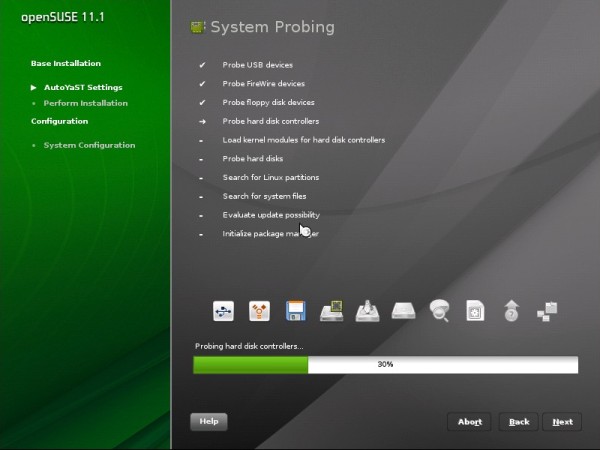
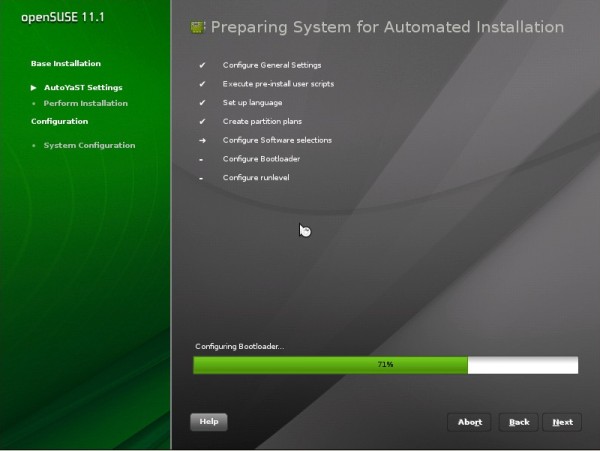
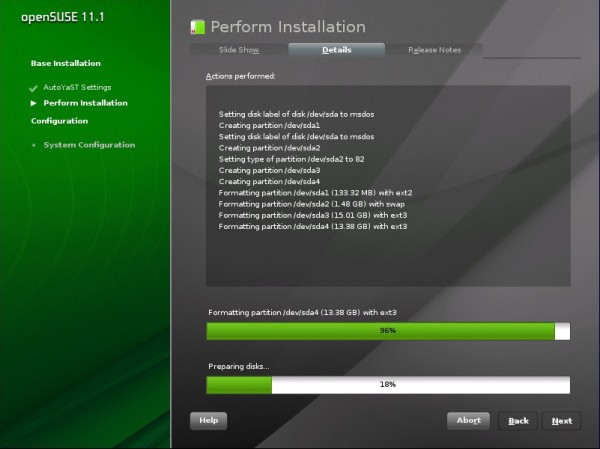
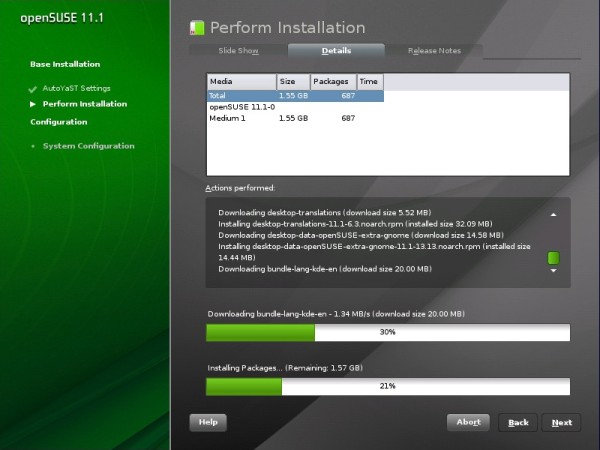
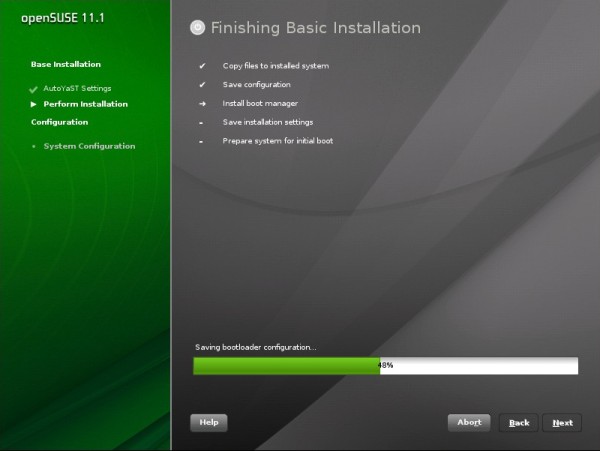
Next select Installation and press enter. For the rest just sit back and wait.
If you didn’t select an automated installation you will be stopped before the following screen presented with all the information regarding the installation (change what you need to then hit Install).
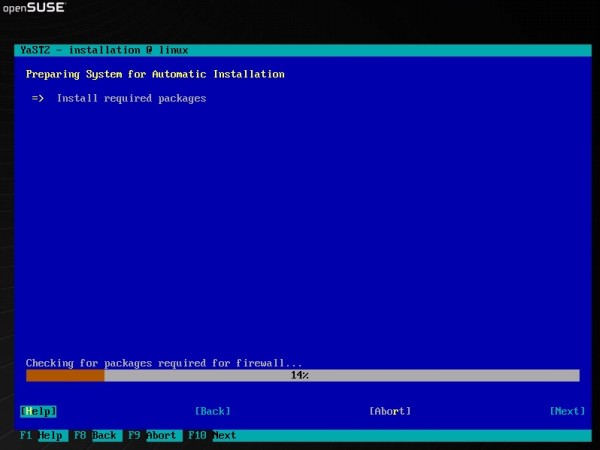
This is after the first reboot, when presented with the install screen again just select “Boot from Hard Disk” or let it time out. You could also remove the CD/DVD just before the machine reboots.
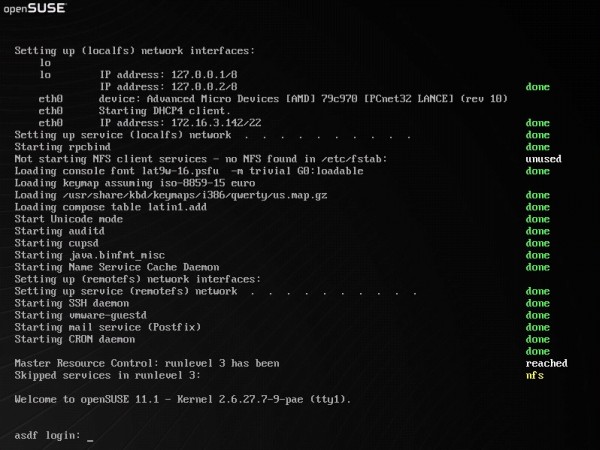
And that is it. The machine install is complete. That concludes the series on AutoYast/AutoInstall. Sometime in the next few weeks I will put together a short howto on creating your own local Update repository.
One reply on “OpenSUSE AutoYast/AutoInstall Howto Part 3”
Is it possible to add the source of repository to XML file instead of using source menu (F4)?